Thursday, February 12, 2026
Louisiana Mardi Gras
Louisiana Mardi Gras : King Cake
Mardi Gras isn't complete without a sweet and colorful king cake, filled with cinnamon, sugar, pecans, and maybe even a plastic baby.
- 3 1/2cups Gold Medal™ all-purpose flour
- 1package (2 1/4 teaspoons) Rapid Rise yeast
- 1cup milk
- 1/4cup sugar
- 1teaspoon salt
- 2eggs
- 6tablespoons unsalted butter, softened, cut into 12 pieces
Cinnamon Filling
- 2/3cup packed light brown sugar
- 1 1/2teaspoons ground cinnamon
- 4tablespoons unsalted butter, softened
Icing
- 1cup powdered sugar
- 1tablespoon milk
- 1/2teaspoon vanilla
Decoration
- Dark green, purple, and yellow or gold sugars, if desired
- Miniature plastic baby, if desired
Monday, February 9, 2026
Star CREATIVEfeature 2/9/26 Code
WELCOME to the second week of the February 2026 "You're the Star" Blog Hop!
Before we continue onto the Linky party I wanted to share from my blog:
WELCOME to CREATIVE feature week of the February 2026 "You're the STAR" blog hop!
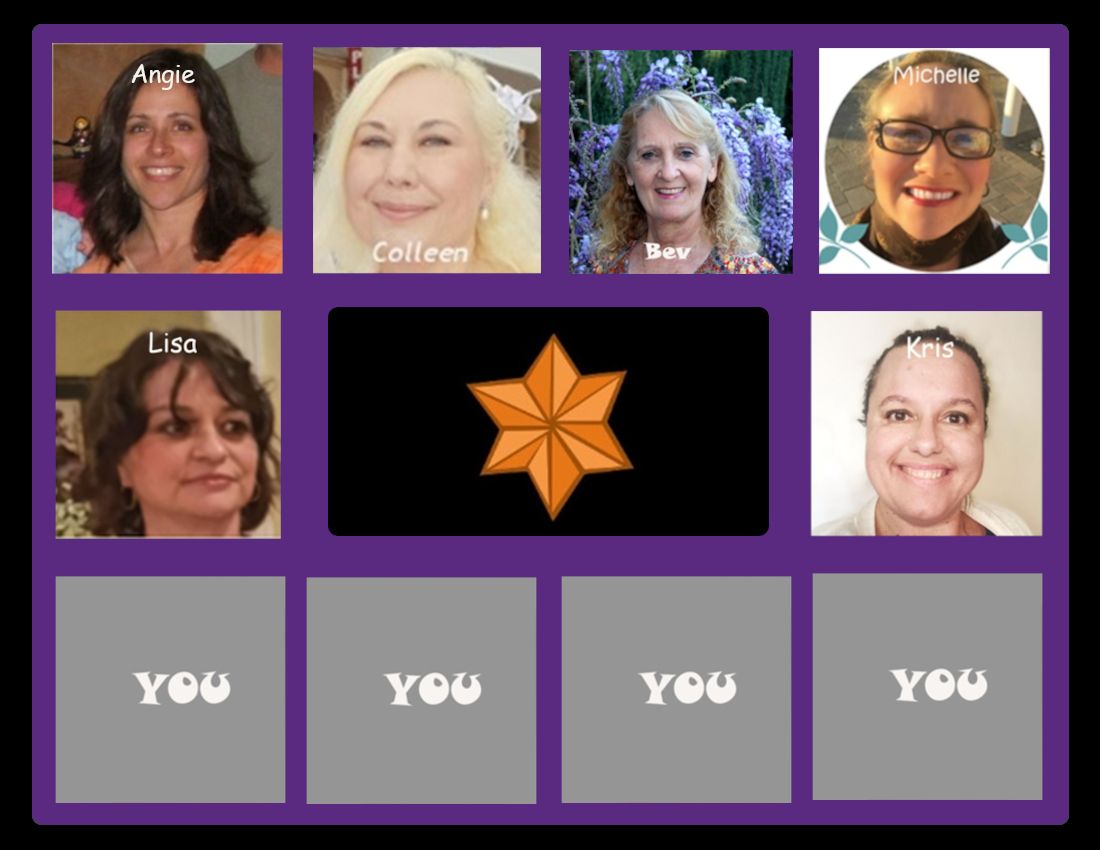
Meet your CREATIVE week Hosts
The "theme" occurs in our weekly features:
WEEK#2 CREATIVE - arts & crafts, music, writing &/or dramatic arts (this can include sewing, yarn work, dance, art history, handmade jewelry, painting, computer art, fashion etc - anything creative while remaining family friendly)
_____________________________________
WELCOME to CREATIVE feature week of the February 2026 "You're the STAR" blog hop!
Meet your CREATIVE week Hosts
This week is CREATIVE feature week
Swing by the hosts' blogs:
This is a month long Linky party featuring YOU!
There will be 4 different features each week and 4 different feature categories. Just to be clear - this is NOT a themed party - you may link up ANY family-friendly blog posts any day of each month. The "theme" occurs in our weekly features:
WEEK#2 CREATIVE - arts & crafts, music, writing &/or dramatic arts (this can include sewing, yarn work, dance, art history, handmade jewelry, painting, computer art, fashion etc - anything creative while remaining family friendly)
(These features were chosen from the January 2026 "You're the Star" blog hop)
If you've been featured then please grab a STAR button below:

*******************************************************
All Hosts/CoHosts will post this blog hop on every Monday of each week.
Please link up your family friendly blog posts below!
It wouldn't be a linky party with YOU!
(IMPORTANT NOTE: by linking up you understand that you might be featured next month and if so, we will use some of your photos from your post - rest assured - we will always link back to your lovely blog. We might also share your fantastic posts on social media. Also, you may link up as many family-friendly posts as you like & YES - other blog hops &/or giveaways are welcome {giveaways and blog hops will NOT be featured though} Thank You & ENJOY! )
___________________________________________________________________
Friday, January 23, 2026
Winter hand cream
Today I am working on a batch of hand cream by special request....
This cinnamon hand cream is simple and my friend Pats favorite.....
1/2 c shae butter
1/4 c coconut oil
1 tablespoon almond oil
1 teaspoon cinnamon
1 tablespoon vanilla
Melted in double boiler the butter and oils then add fragrance. and then whip with wisk. And pour into container.
You can buy container online or hobby lobby or I use small glass canning jars ....
Other recipes I use.....
Tip ... Buy ingredients online, hobby lobby, Walmart and even Dollar general.
Refinished heart photo album
It's time for Friday Valentine's project. I am refinishing an old photo album.
Directions
I painted the metal cover with white chalk paint, let dry. Then I used fabric mod podge to attach the Valentine's fabric to front and back
Then I cut strips of solid fabric to make bow , with wooden tag with stickers.
Inside the album
I made cute matching recipe cards and Atc cards to fill some of the pages. Leaving room for photo and love notes.
Thanks for joining my Friday remake it special... Lisa
Thursday, January 22, 2026
Valentine's busted canvas
This Thursday I am transforming Christmas canvas to Valentine's
This Dollar store Christmas canvas for $1. I painted white to cover image.
Double sided rose scrapbook paper. I glued on top of my canvas I painted white. Then with a knife ,I made an x. Then scissors to make larger. Folded back and added paper. On the back, I cut cardboard to size , covered in scrapbook paper to make the back and added a flower sticker.
Have you tried the busted canvas technique? Leave a comment to share..
Subscribe to:
Comments (Atom)
My Friday card
Today ,I bring you another simple and beautifal card : My Anniversary card with a wonderful die cut flower in the center . On a lovely pink...

-
At the Library : Do you do Elf on the Shelf? Grab the awesome Elf on the Welcome Shelf Letter that you can print out. Read the Elf...
-
Today I am working on a batch of hand cream by special request.... This cinnamon hand cream is simple and my friend Pats favor...
-
Hugs and Kisses Today's Valentine's post...... This sweet card is inspired by my son. He always made me the sweetest cards at Vale...


.jpg)


